
diy
Yummiest Chili Recipe Ever!

It’s hard for my family to find foods that we can all eat and enjoy. With so many different allergies and taste pallets it can often be a nightmare.
That is why I was so excited to find this recipe! Who would have thought chili would be something my toddler would love to eat? I still find it difficult to believe at times, but it’s true.
The recipe that is our family favorite is actually a variation from several “Wendy’s Chili Copycat” recipes. The best part about this version is it sneaks vegetables into my toddler’s food. (Shh! Don’t tell.)

My version of this recipe calls for extra tomatoes, extra celery, and half the meat. It has the same fantastic chili taste, but it is even healthier and cheaper (which makes my hubby happy).
With just a little bit of prep, I can throw it all into the Dutch oven or slow cooker and let it sit while I take care of my little ones.

Yummiest Chili Ever!
1 Green bell pepper diced
3 Tomatoes diced
1 Yellow onion diced
2 tablespoons Chili powder
3 teaspoons Cumin
1 teaspoon Black pepper
2 teaspoons Salt
2 (15 oz.) cans Pinto beans (or 2 cups dry pinto beans soaked overnight and cooked before adding)
2 (15 oz.) cans Kidney beans (or 2 cups dry kidney beans soaked overnight and cooked before adding)
1 pound Ground beef, browned
3 Celery stalks chopped
1 (7 oz.) can Green chilies, washed and chopped
1 (15 oz.) can Stewed tomatoes
Prepare all ingredients and mix them together. Bring to a simmer and allow it to cook for at least 2 hours. Serve and enjoy!
//ws-na.amazon-adsystem.com/widgets/q?ServiceVersion=20070822&OneJS=1&Operation=GetAdHtml&MarketPlace=US&source=ss&ref=as_ss_li_til&ad_type=product_link&tracking_id=mamawithoutap-20&marketplace=amazon®ion=US&placement=B00N310CKG&asins=B00N310CKG&linkId=57352b3621a69f447be91d0a7edb1a91&show_border=true&link_opens_in_new_window=true
//ws-na.amazon-adsystem.com/widgets/q?ServiceVersion=20070822&OneJS=1&Operation=GetAdHtml&MarketPlace=US&source=ss&ref=as_ss_li_til&ad_type=product_link&tracking_id=mamawithoutap-20&marketplace=amazon®ion=US&placement=B000N501BK&asins=B000N501BK&linkId=108c7a55eb6b20d9037359803c9d807c&show_border=true&link_opens_in_new_window=true
//ws-na.amazon-adsystem.com/widgets/q?ServiceVersion=20070822&OneJS=1&Operation=GetAdHtml&MarketPlace=US&source=ss&ref=as_ss_li_til&ad_type=product_link&tracking_id=mamawithoutap-20&marketplace=amazon®ion=US&placement=B004P2NG0K&asins=B004P2NG0K&linkId=9d5d0ab57b3d79a748e1580e7861ee81&show_border=true&link_opens_in_new_window=false
Handmade Vs Homemade: Good Vs Bad
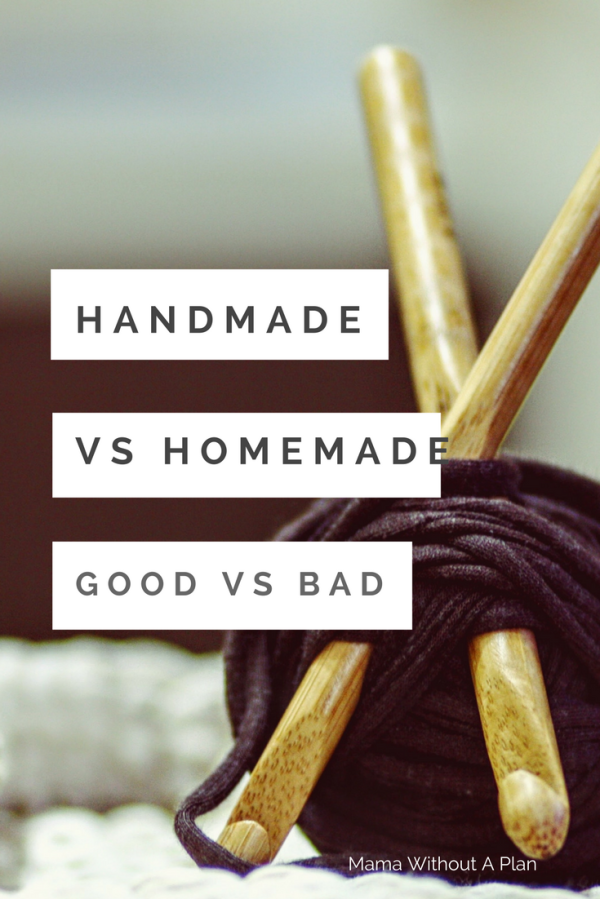
As an artist and avid crafter I have always considered handmade items to be better than mass manufactured items. They have better quality, more attention to detail, character, and each piece is unique.
My husband, who also loves to craft and create, has a complete opposite view towards handmade items. He has always thought of them as inferior, having poor quality, and shabby.
The reason between the two thought processes simply has to do with experience. My husband, as well as many other people I have met in my life, have most commonly seen handmade items that were not well made, that broke easily, or were just plain ugly.
There was not much care invested into their creation. These items are homemade.
In my experience, handmade is the highest quality of items, custom pieces made with great care and skill; couture fashions, designer shoes, custom wood furniture, and great works of art.
In my art and crafting I have always strived for the handmade quality and look. Many times I can’t get past the homemade stage. (That is usually when I give up on that project and throw it away.)
Still confused?
Let me put it another way. A homemade item is similar to a badly done home DIY project. Let’s say you buy a house where the previous owner did everything themselves and did a horrendous job.
The cabinets are not screwed into the wall, the second floor deck is falling down, and all of the bathroom fixtures leak. (That is the house we currently live in.) You would not like it very much and would never want to buy a house that had been DIY remodeled ever again.
That is the type of quality and skill that goes into a homemade item.
So, you are stuck with a bad house and it needs fixed, right? What do you do? Call a professional (and we have.)
For us, our main go-to handyman is my father. He has never been a contractor but he has owned and worked on his own homes for over 30 years.
What’s the difference? My father has had plenty of DIY mistakes. He has been through the steep learning curve and now he knows what he can do and how to do it well. He has experience!
That’s it. The difference between handmade and homemade is the amount of experience and skill the person has in making the item.
What I Learned About Starting a Blog As a Newbie!

As a new blogger I have been doing research. I have combed Pinterest and Google for the best advice and tips on how to become successful at this. The number of articles I have read on the subject are mind numbing, but I have learned a few things.
- You have to spend money to make money. It’s an old saying that I have heard many times throughout my life, and frankly I have tried to avoid spending money on anything, except crafts. The fact is, if you want to look professional you need to cough up a little cash (and I plan on doing that as soon as I have the cash to cough up.)

Photo by DWNTWN Collective. on Unsplash - You DON’T need to buy everything you are told to buy. One thing I have noticed is the blogs are usually promoting a product and they will claim that it is the most important thing that helped them become successful. After reading so many of these I have created a list of the things that really are what helped them become successful.

- Own your domain. Again, I haven’t been able to cough up the cash to do this yet, however being the owner of your domain (your .com address) helps to make you look professional and others will take you seriously.

- Use eye-catching graphics It is important to make sure your images are as clean and polished as possible. This is one thing you don’t need to spend money on. The average Pinterest size is 900 x 1400 pixels. There are several websites that have thousands of free stock photos.
- Pinterest group boards. It’s hard to get into some of the big group boards, but I have been invited to a few. There is a free site that lets you search them by category, pingroupie.com

- Use Tailwind to promote your pins. (No, I am not being paid to say that.) This is a program that automatically pins your boards throughout the day in order to give you the best chance of having an audience.
- BE YOURSELF! It doesn’t matter what your subject is or how over-saturated the blog market is, as long as you are true to yourself and write what you are interested in you will stick it out through the hard times and find your success (however you plan to measure it).

Updating Your Treasures

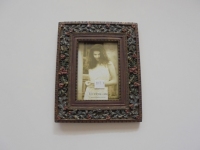
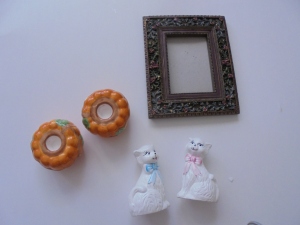
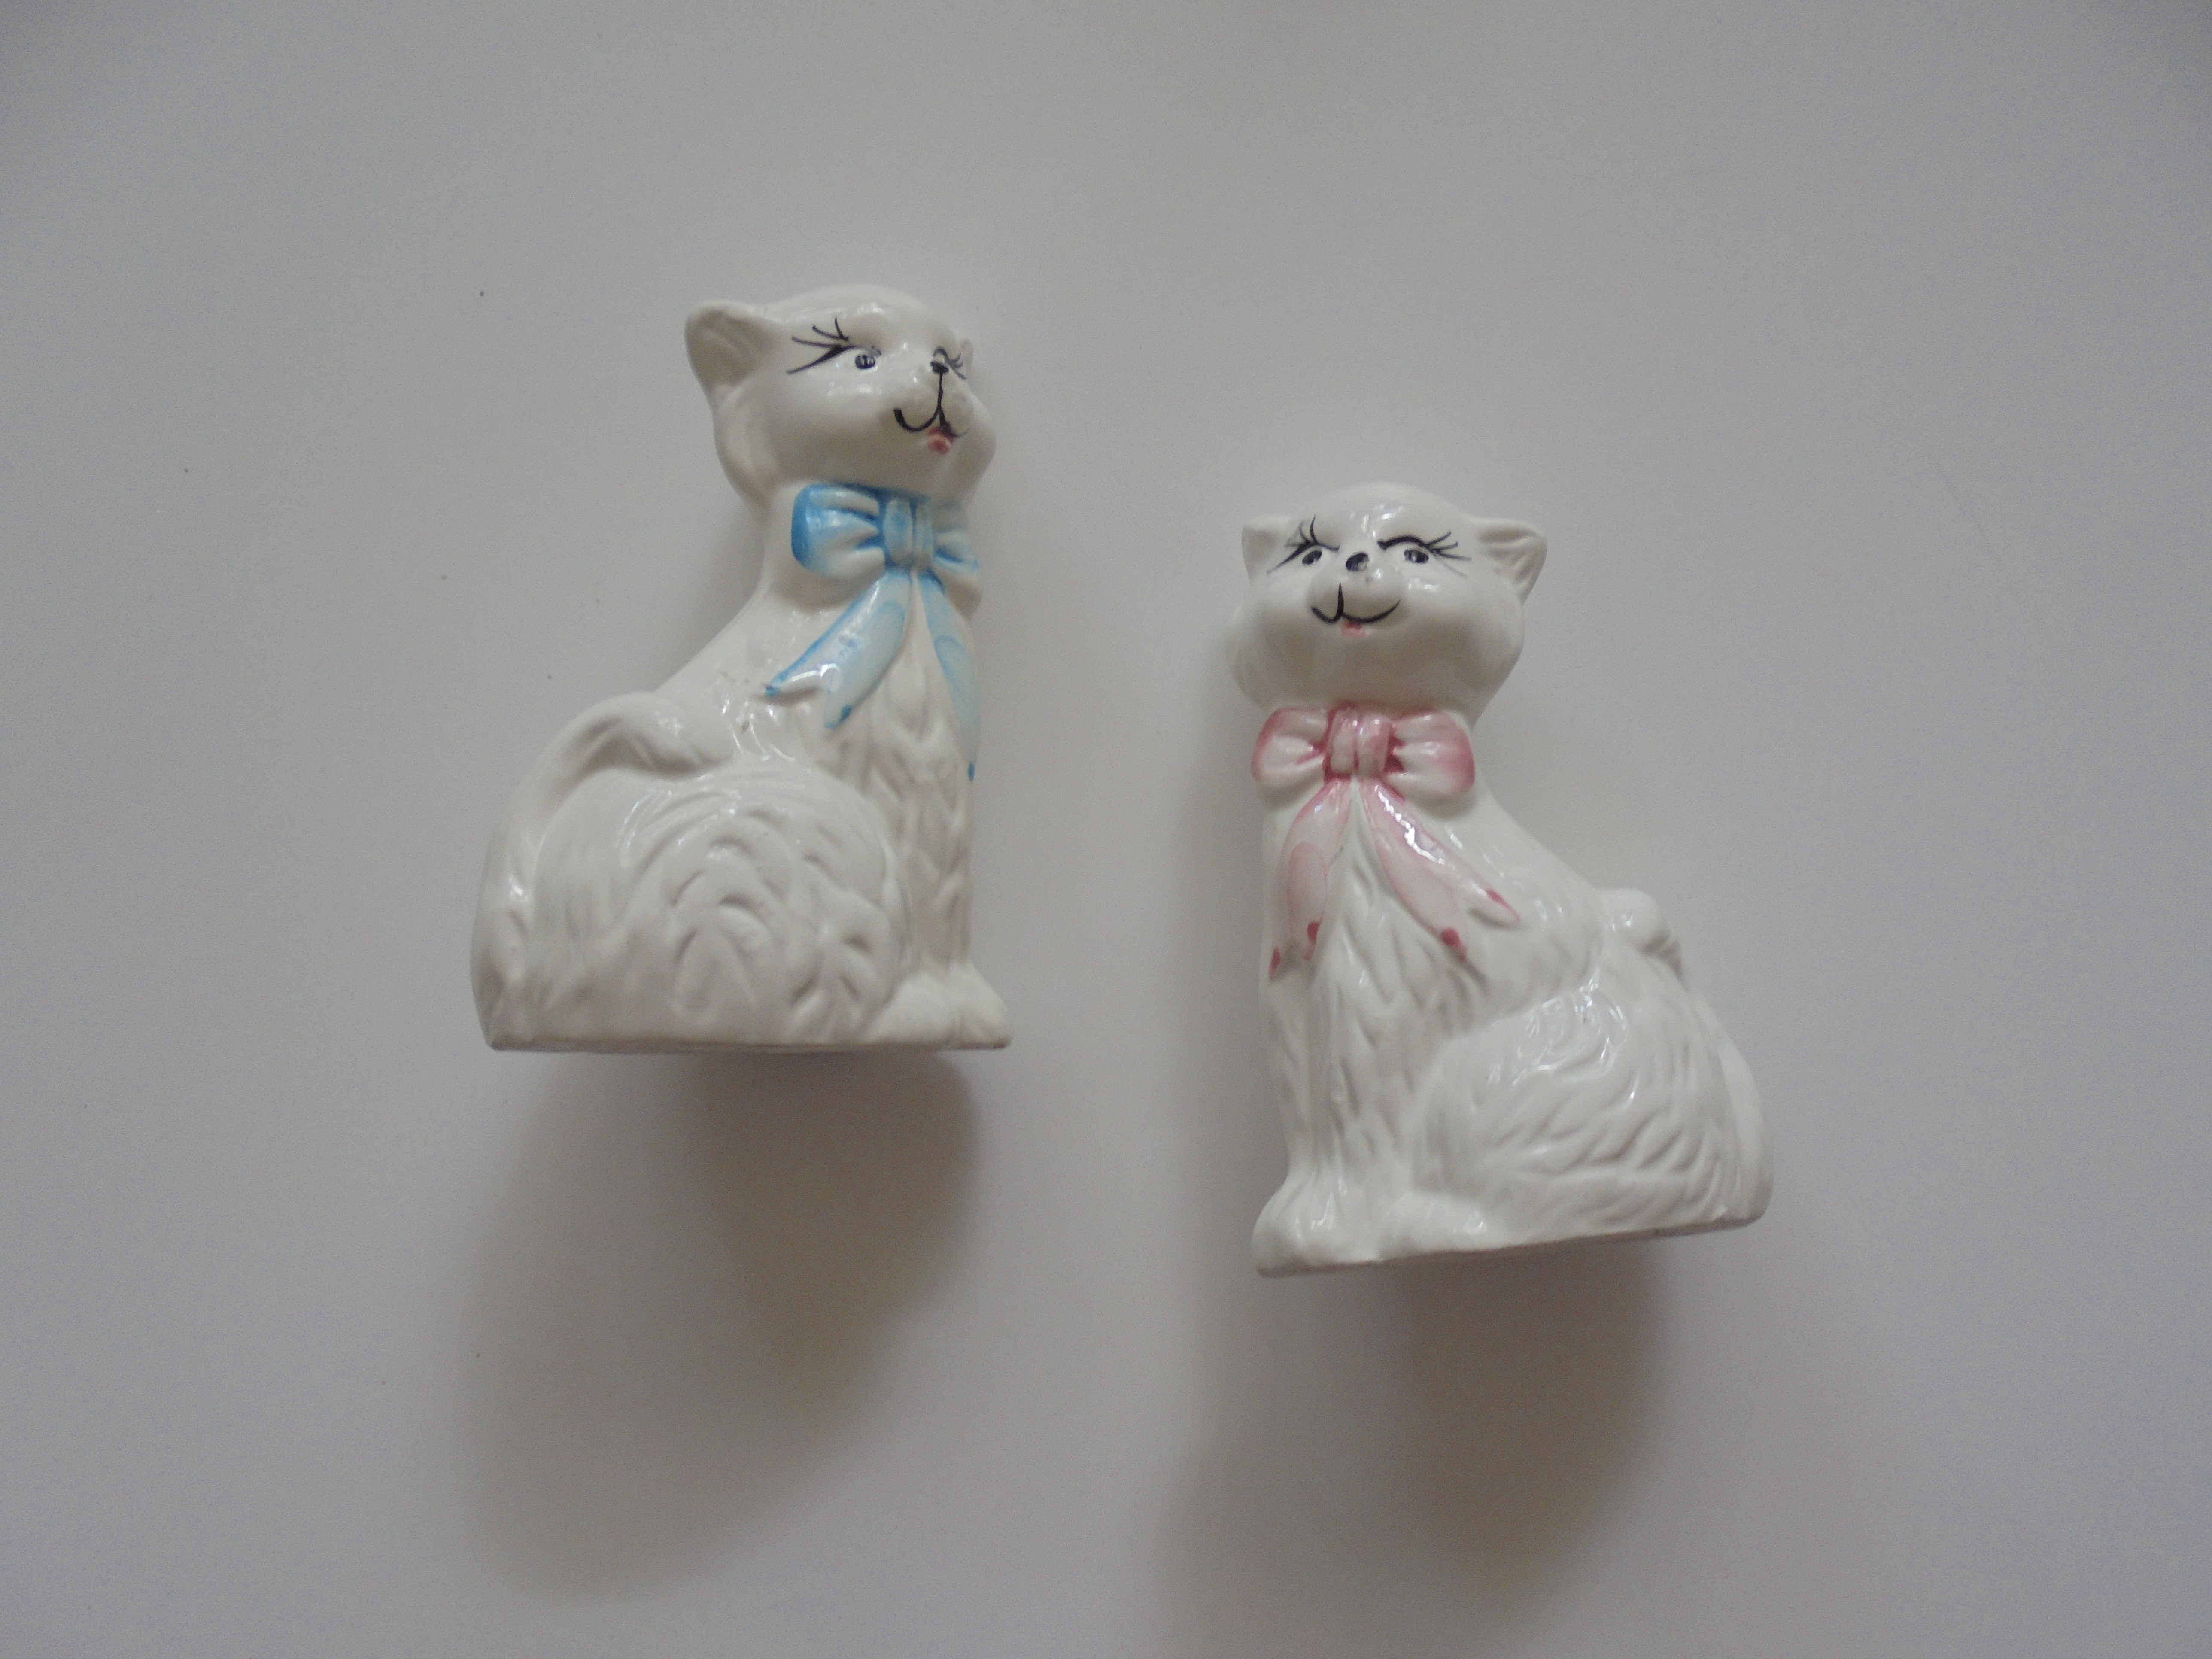
Over the weekend I was asked to teach a 30 minute class on refurbishing and updating furniture and décor items. I had a lot of fun preparing for this class, but was really nervous to present it in front of a group of women most of whom were my grandmothers’ ages and hated to see things painted over. There were a few younger women in their 20s and 30s, but they were wrestling with their children half of the time. I gave them a 10 minute lecture and then had several items I bought at a thrift store for them to paint over. Despite the dated colors and chipped glaze, they claimed the items were too cute to paint. It was a bit of a challenge to convince them to paint the objects. Once they sprayed that first coat of paint they were amazed at the difference it made. Suddenly, the figures had new life and purpose and all of the ladies were excited to experiment at home. I don’t know if any of them actually will try it at home, but they were enthusiastic.
For the most part, this type of refurbishing is done by younger people (not 70 and 80 years old). There are tons of tutorials online, I just listed the basic steps I follow when updating an item. Enjoy!
-Display Items-
- Select an item that has a good shape. The trick is to look past the dust and faded colors.
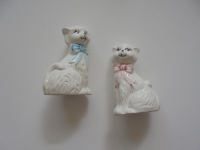
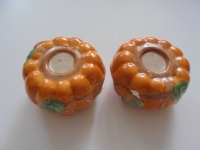
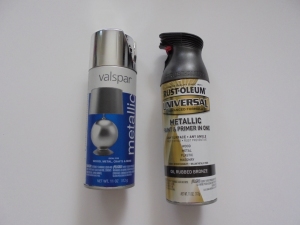
- Choose the color, finish, and texture you would like to use. It pays to get a quality paint.
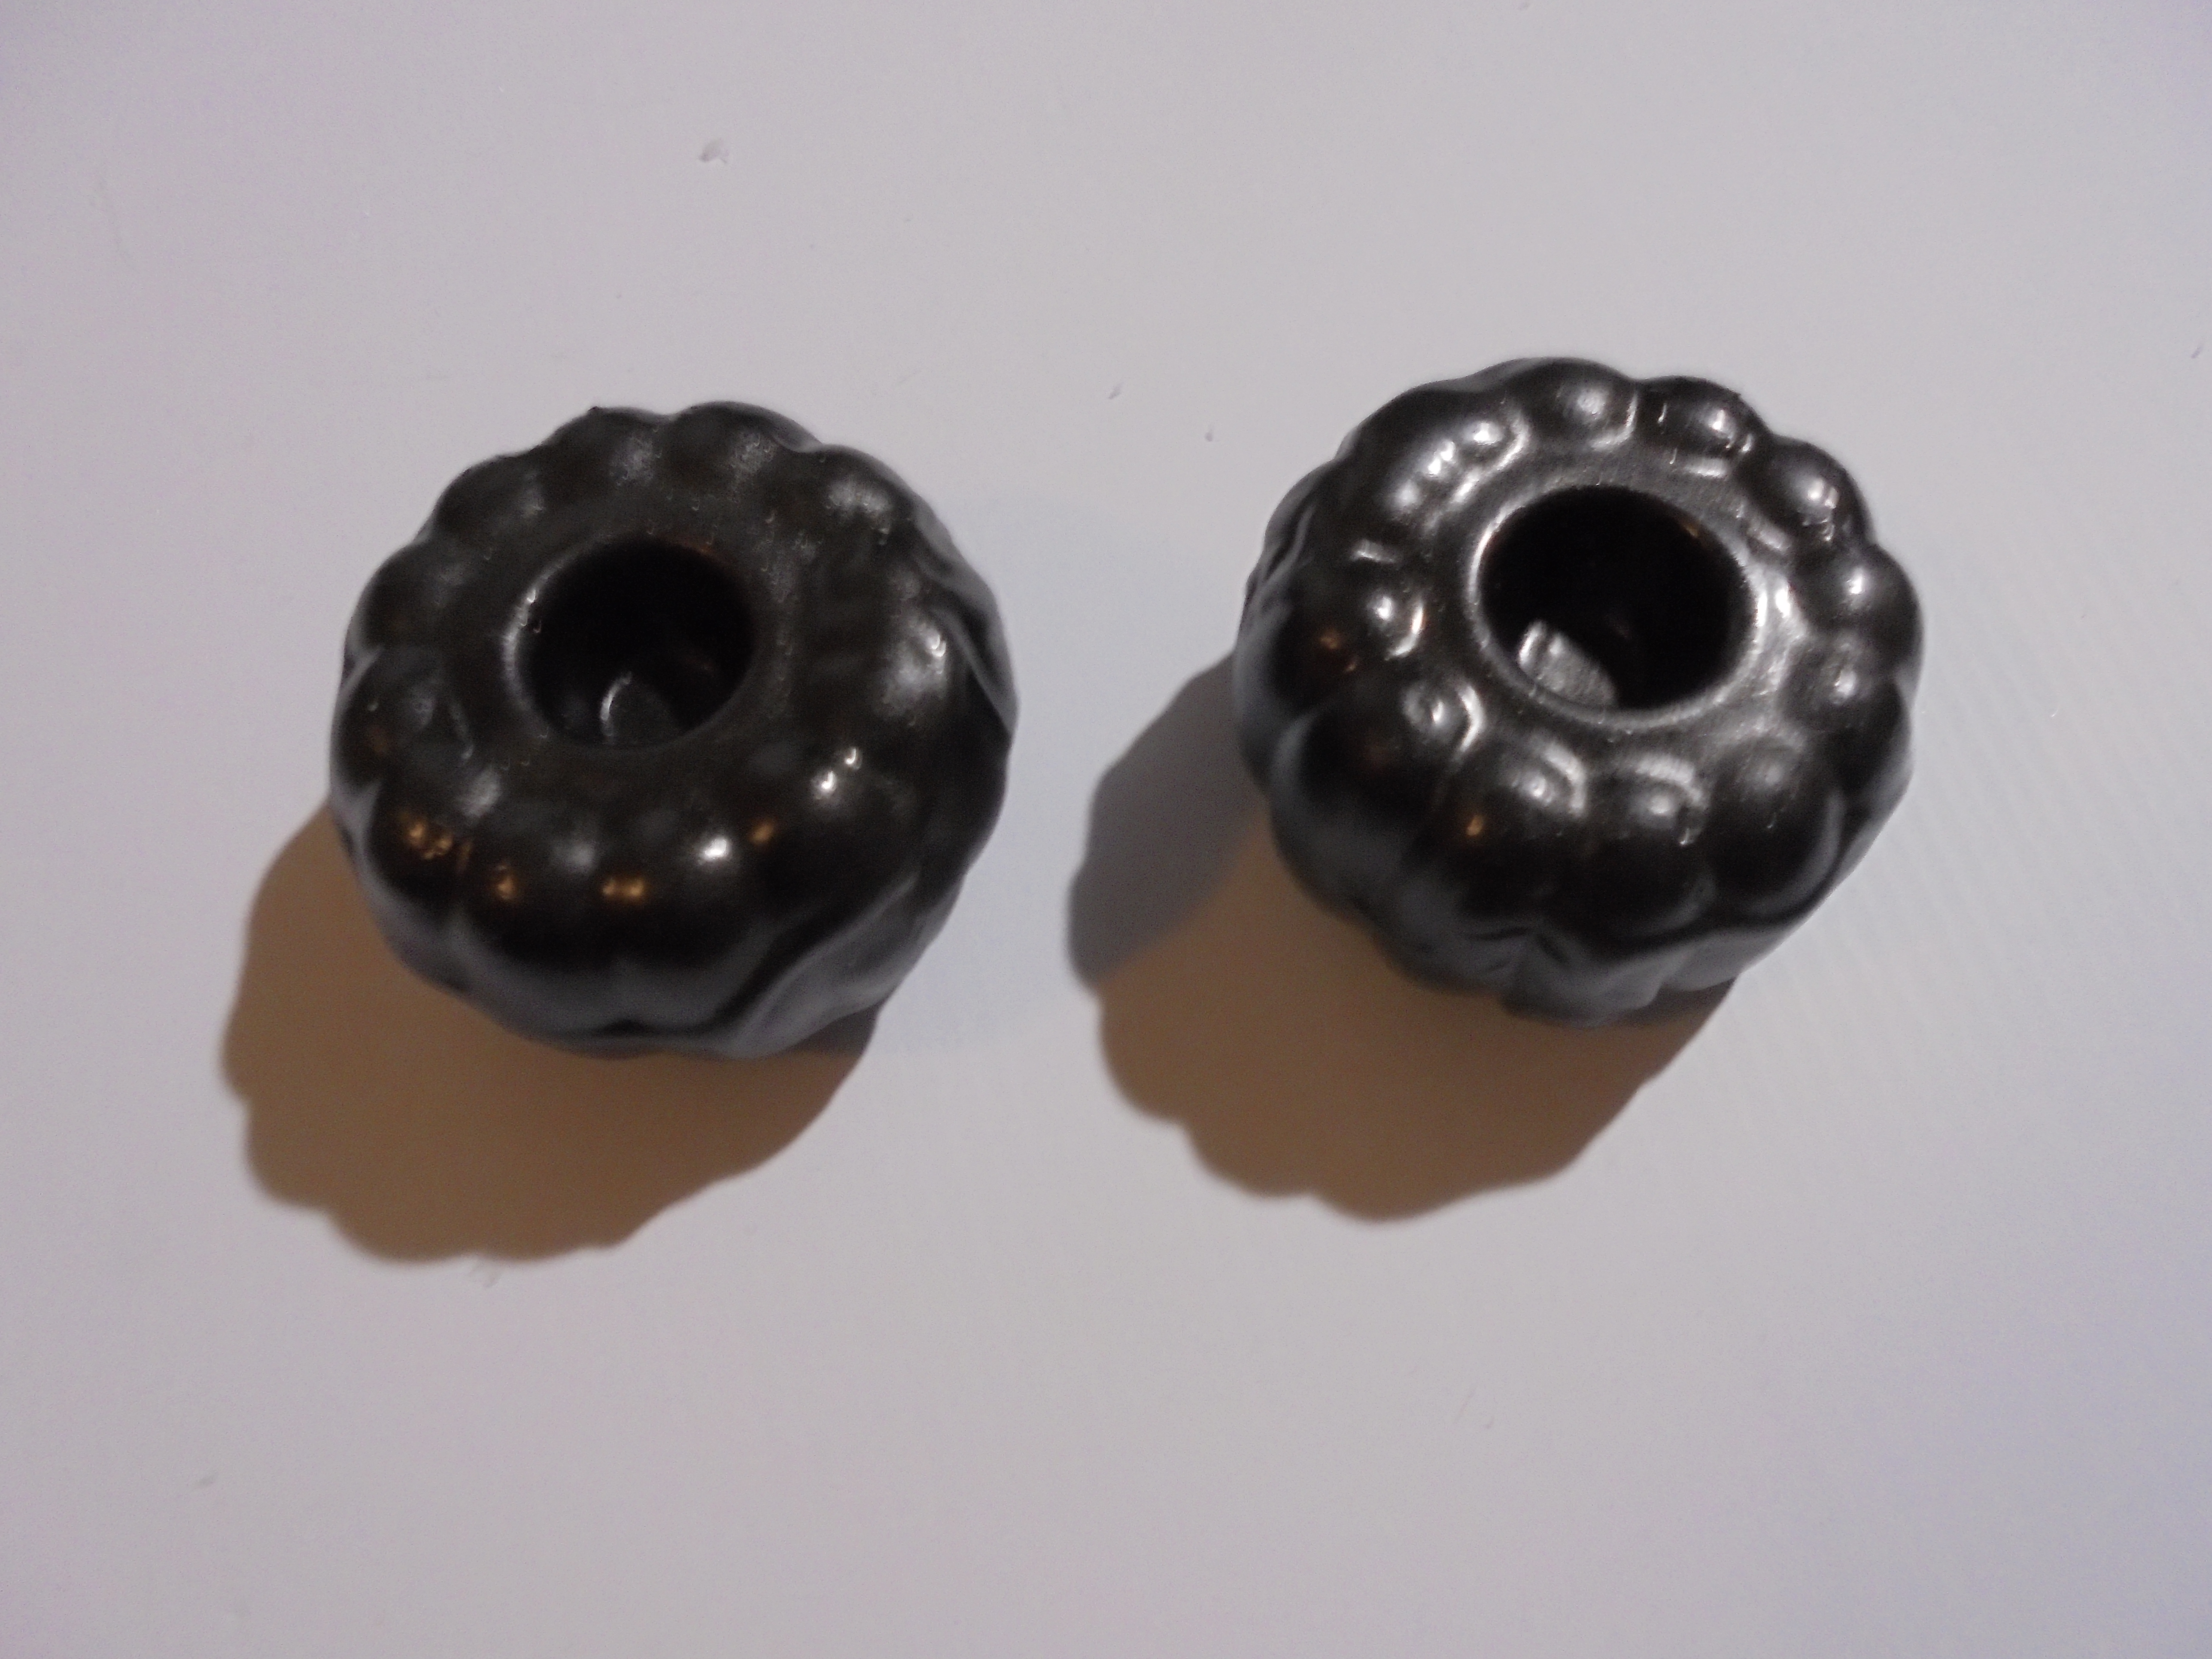
- Clean well. When painting brass, glass, and porcelain, lightly rough up the surface with a fine sand paper (don’t make any scratches).
- Paint in a well ventilated area. Paint 3-4 light coats of paint making sure not to make any drips. Allow to dry between coats. Finished.


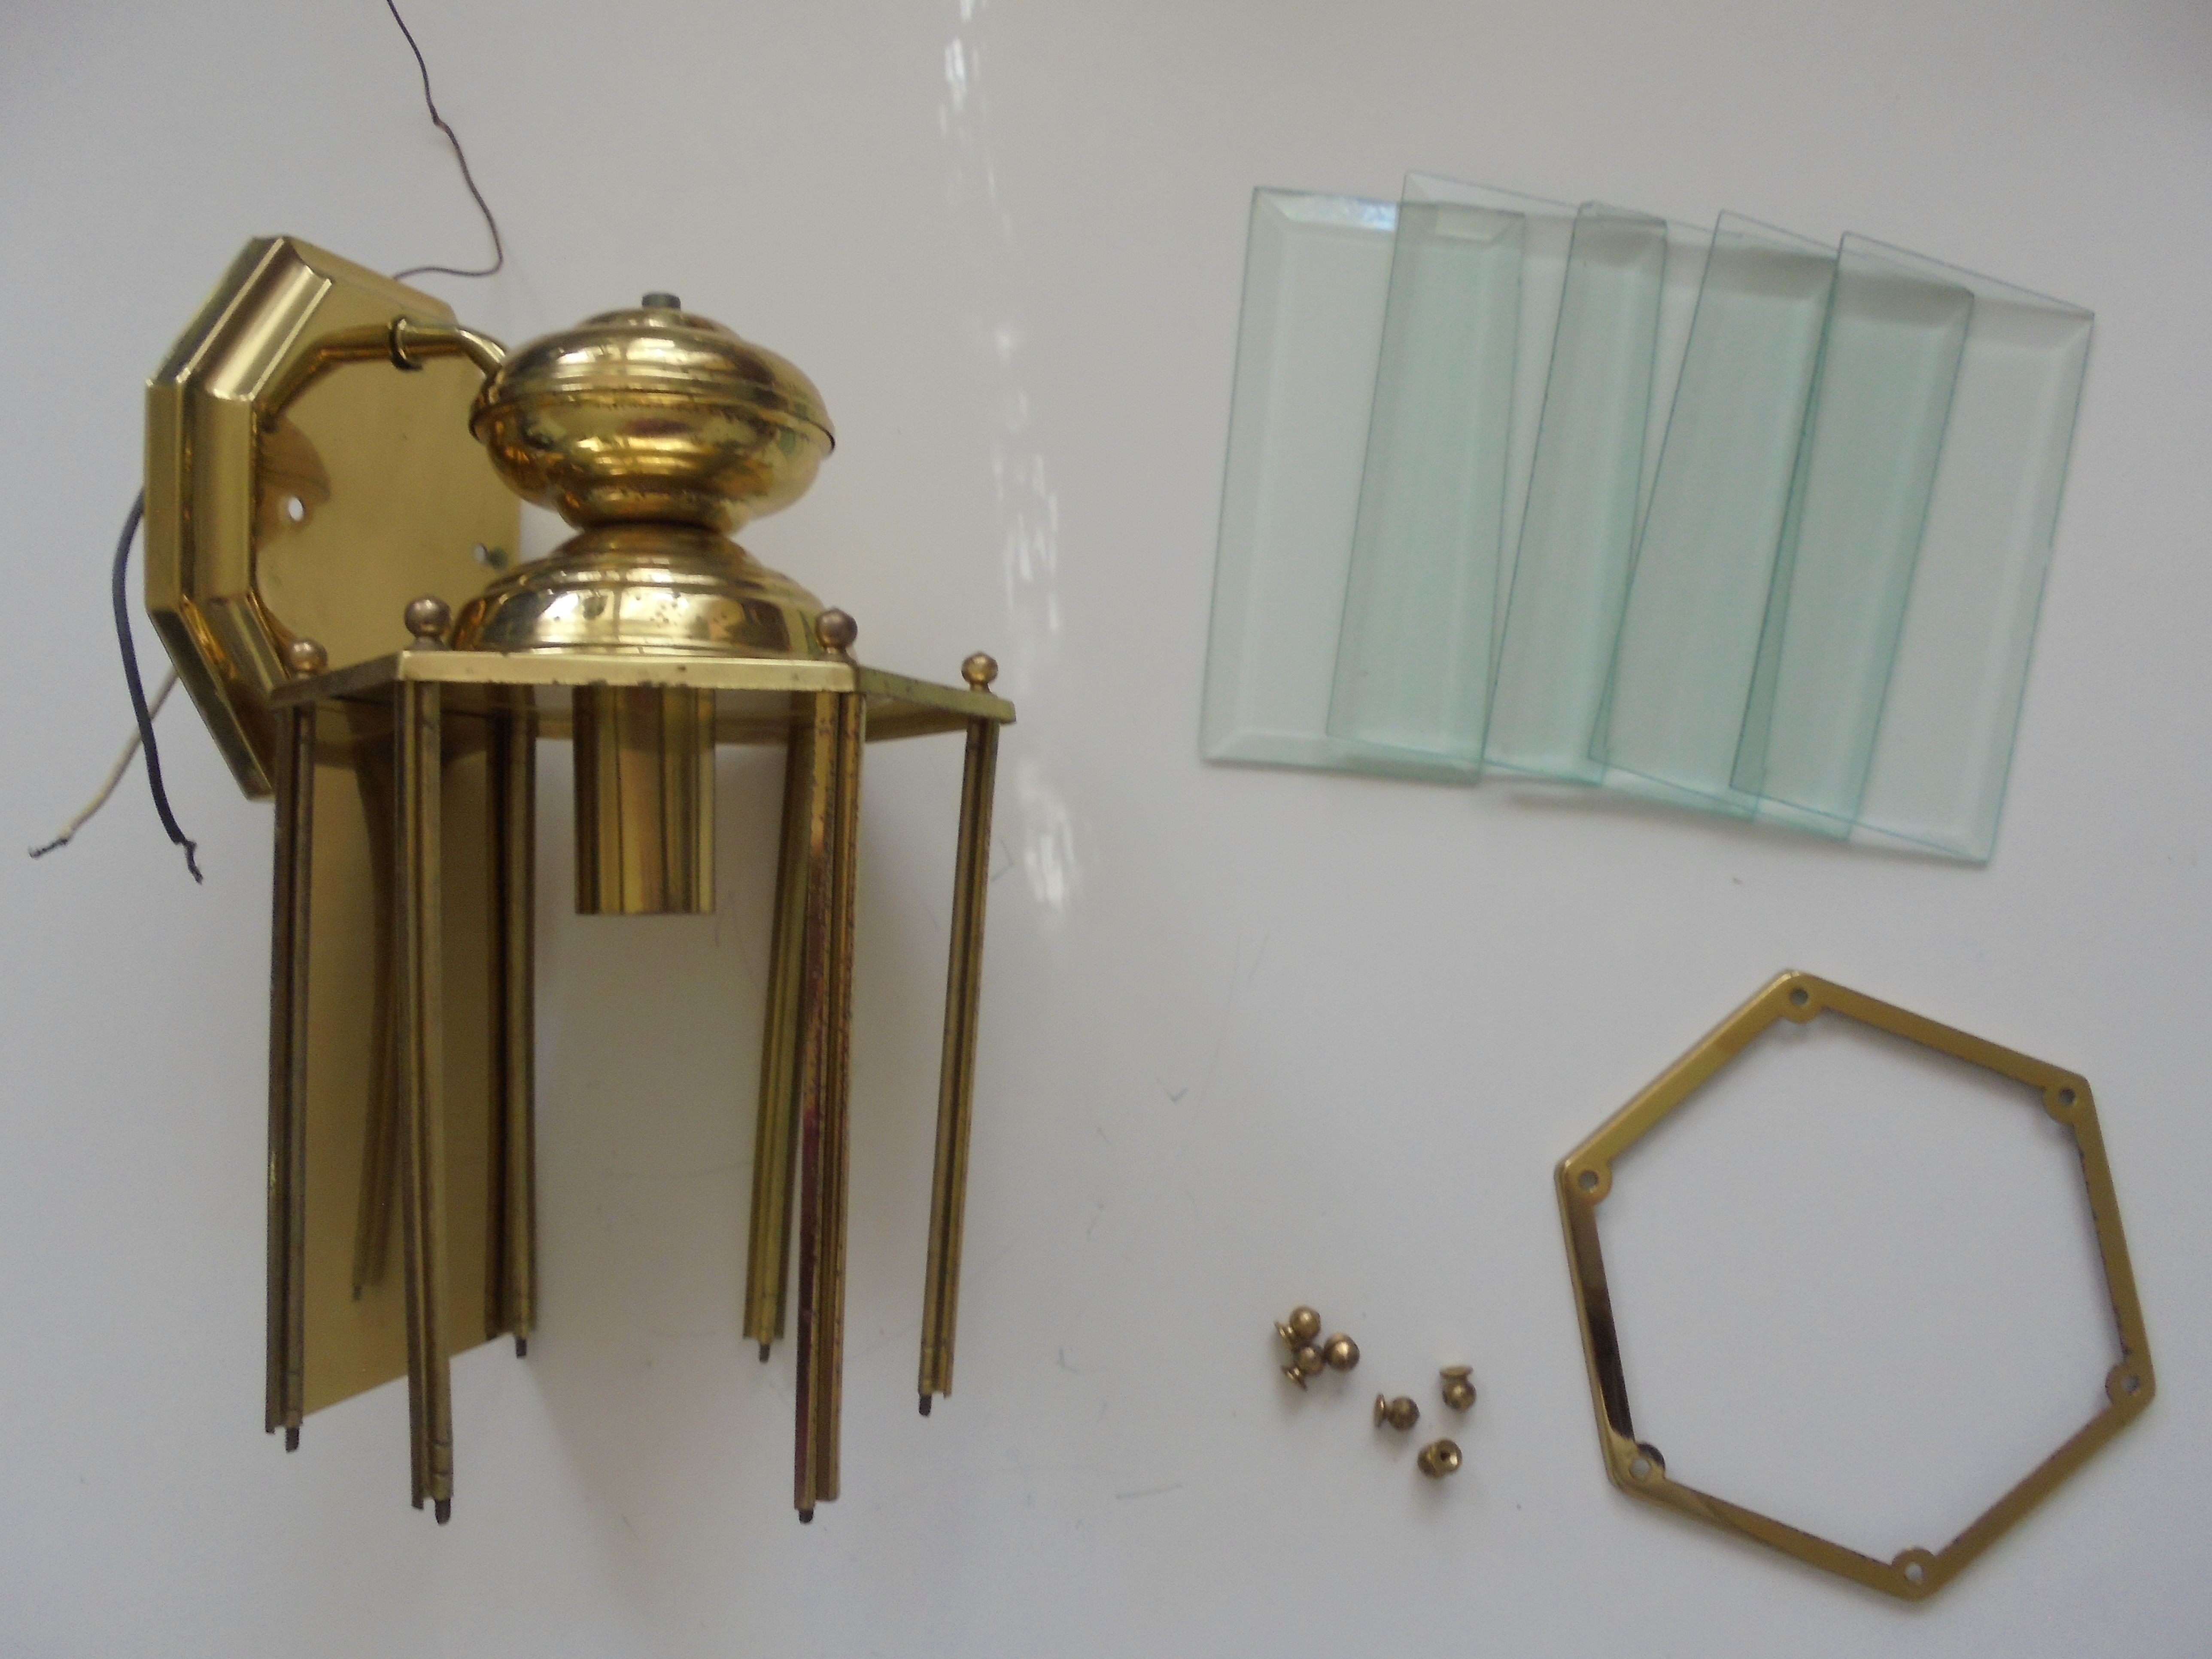
-Lighting-
- Select an item that has a good shape. The trick is to look past the dust and faded colors.

- Take apart and clean well. When painting brass, glass, and porcelain, lightly rough up the surface with a fine sand paper (don’t make any scratches).
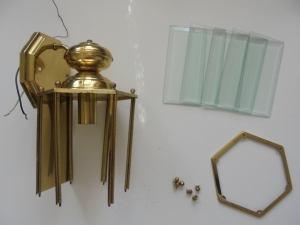
- Paint in a well ventilated area. Paint 3-4 light coats of paint making sure not to make any drips. Allow to dry between coats.
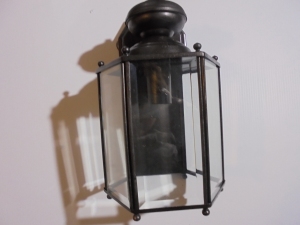
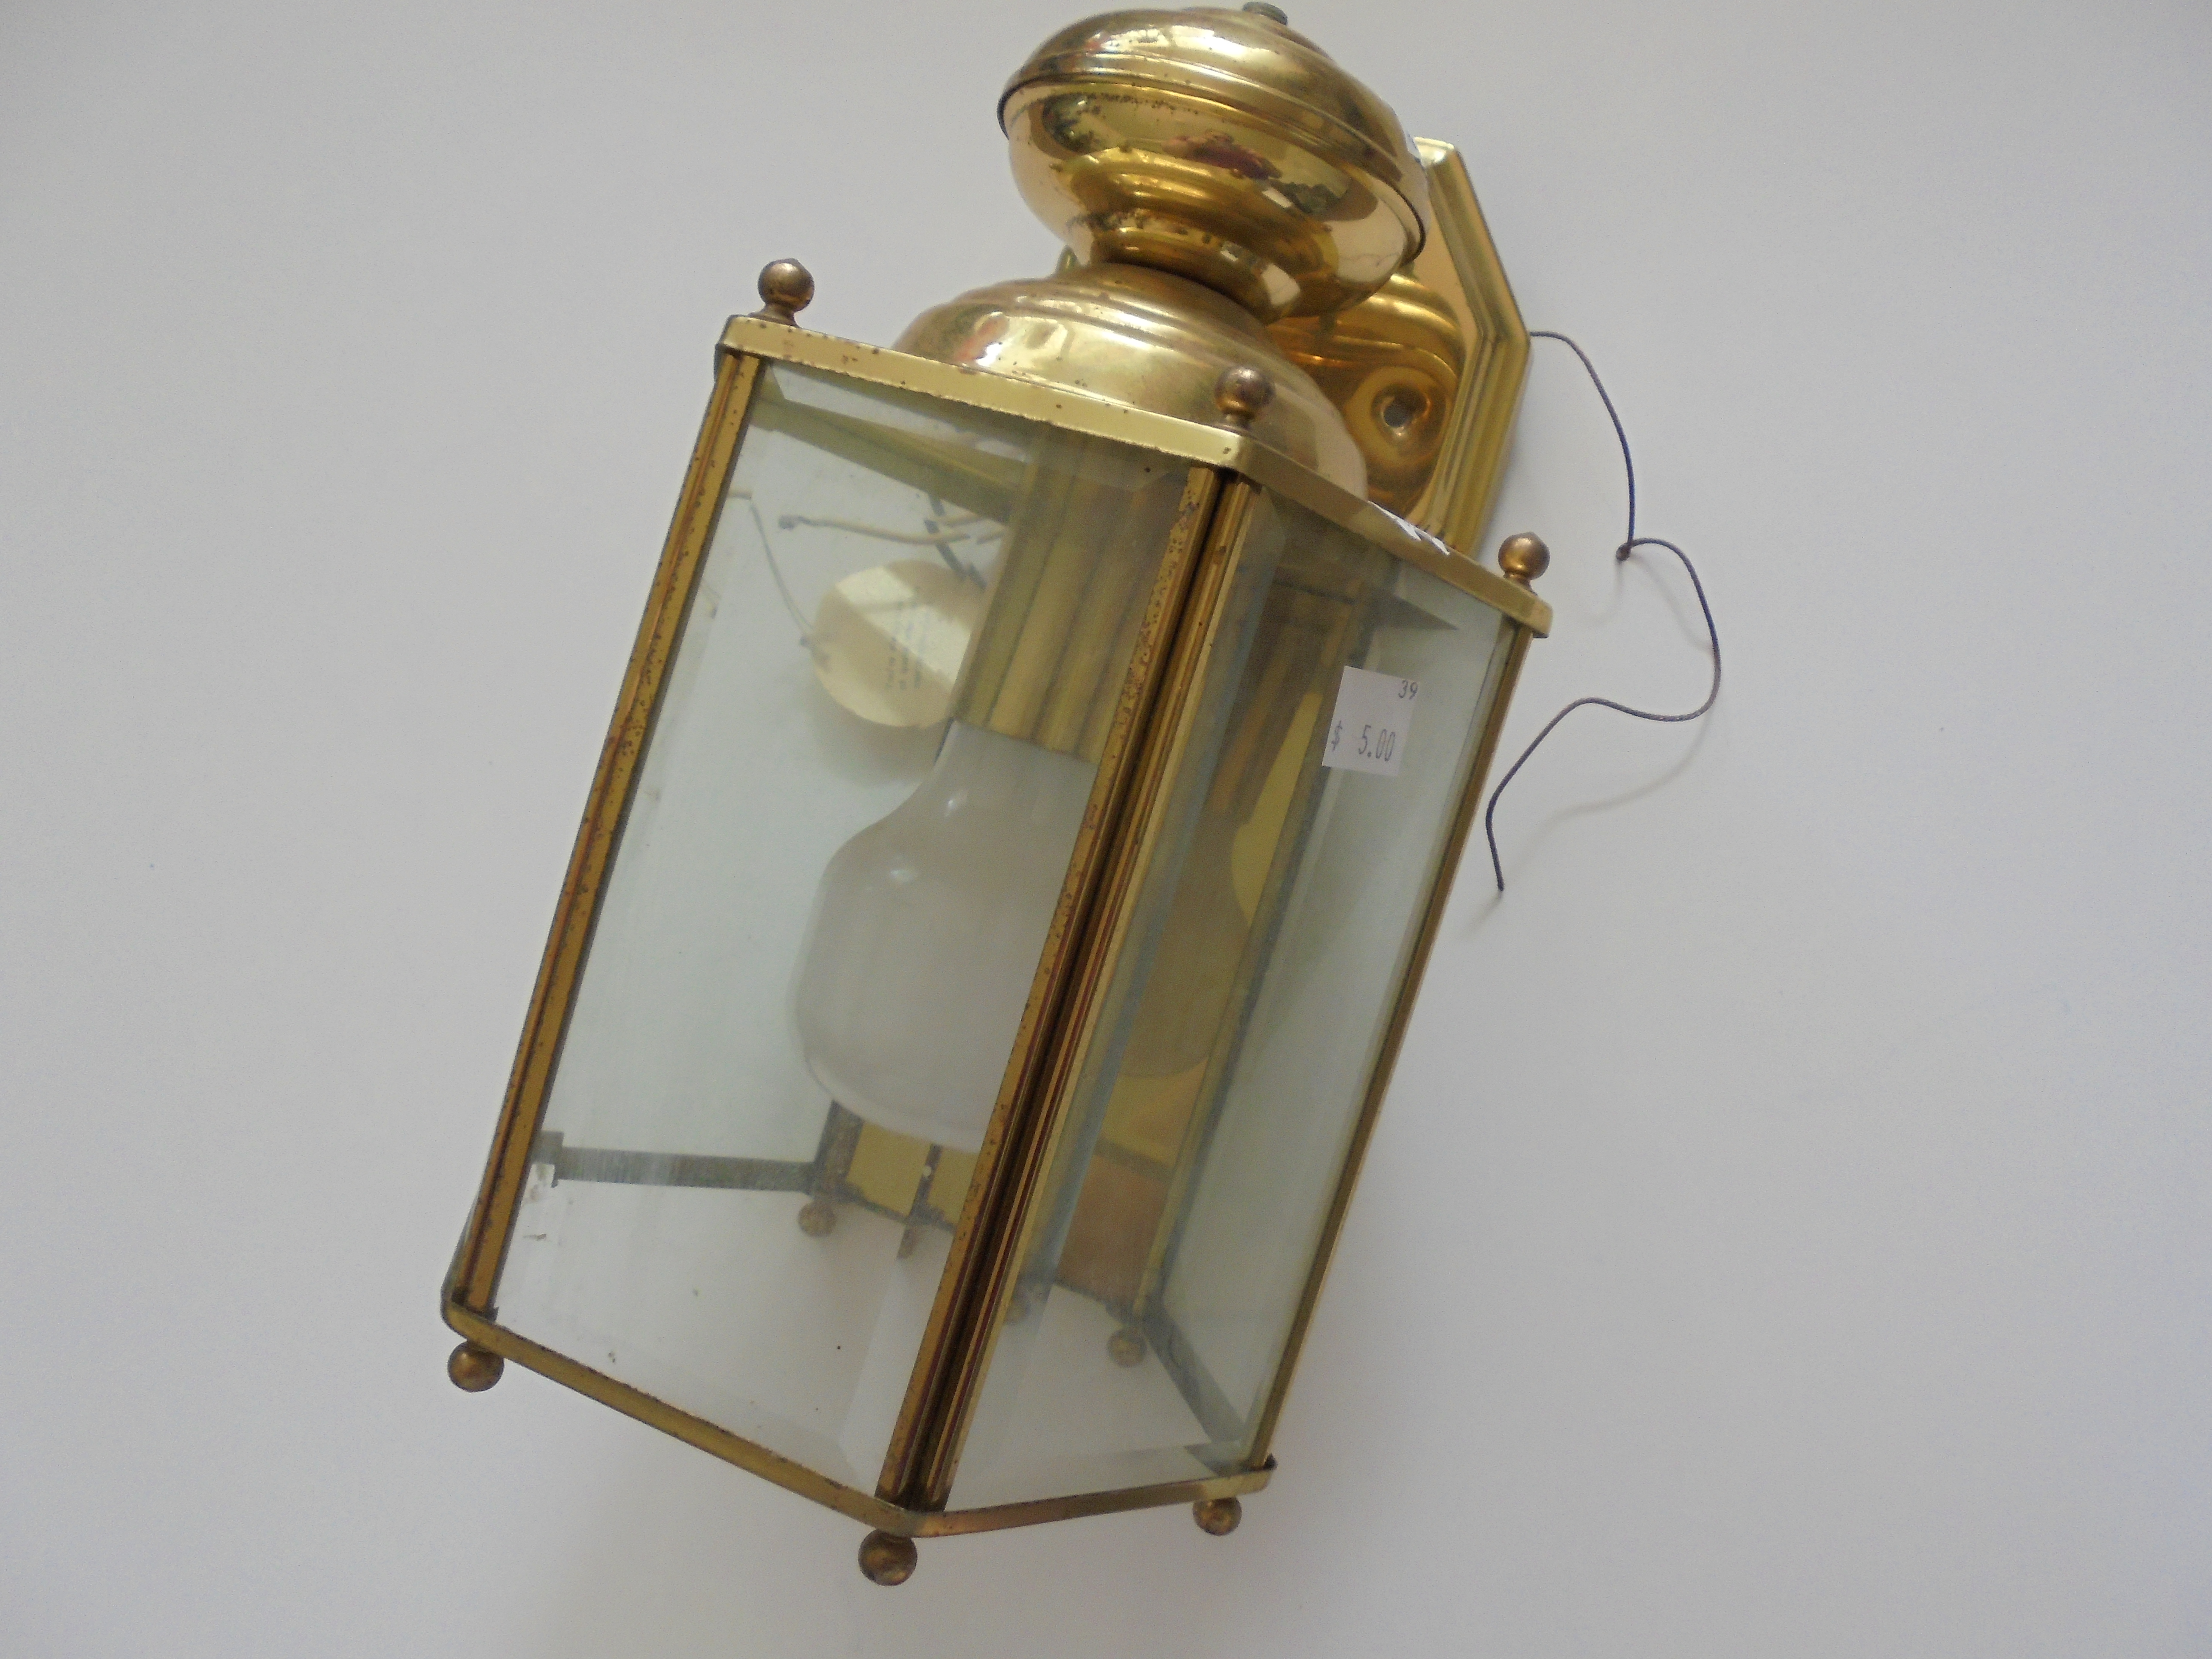
- Put item back together, install safely.
- Finished.


I updated my thrift store chandelier with a coat of blue paint. The crystals are Christmas ornaments I bought at a hobby store (4/$1.00) but you can buy actual crystals at any home improvement store in the lighting section (about 5/$6.00).
